Create a blog using jekyll (5): Setting a theme, first
The greatest strength of jekyll is its many free themes. Like WordPress, many free themes are available for jekyll, and users can use them to decorate their homepage to their taste.
What is a theme?
Before installing a theme, you’ll first need to understand what a theme is. A theme can be seen as a customized look of a website to the user’s taste. Accordingly, the user can select and install a theme suitable for the characteristics of the website he/she intends to configure, and furthermore, the user can create or reconfigure the theme himself. When you install jekyll, minima is set as the default theme.
Theme based on RubyGem
Themes basically provided by jekyll, such as minima, are based on RubyGem. In general, users cannot check the theme files in their directory, and can only check the part corresponding to the site contents. Users can easily update the theme through commands such as ‘bundle update’, and this configuration creates an environment where users can focus on the content.
The following is a screen to update the default theme, minima, through bundle update.
)
Customize with your own theme
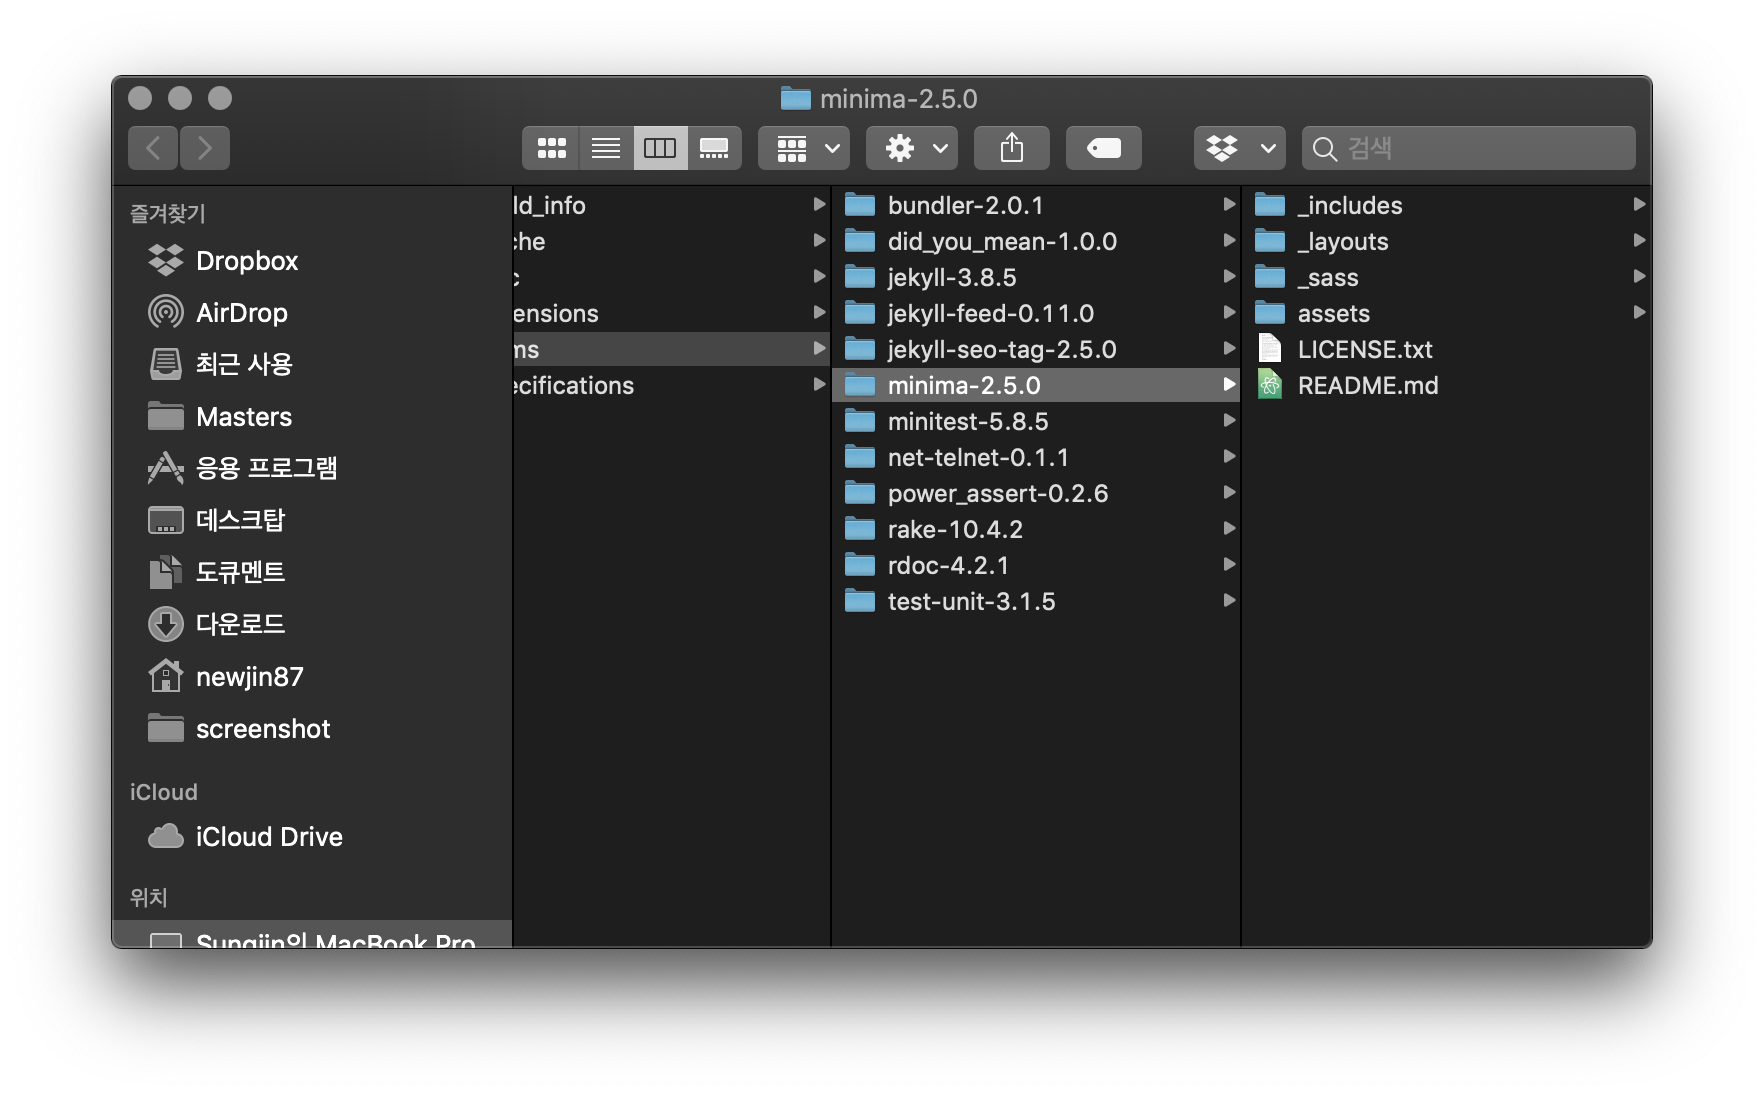
Users do not simply use the theme they have installed, but can customize it according to their taste. To do this, you need to first check the folder of the theme you have installed. To do this, enter the following command in the terminal: open $(bundle show minima) or go directly to the following folder. /usr/local/lib/ruby/gems/2.3.0/gems/minima-2.1.0
Through this, we can check the folder where minima is installed as follows. And the contents of the folder are as shown on the right.

Users can use this to modify the theme to their own style. To modify, you must first create a file with the same name as the file in the theme installation folder in the site folder. Alternatively, you can copy the files in the theme folder as they are, paste them into the site folder, and then modify them. For example, to edit the layout of a blog post, you must first create a _layouts folder in your site folder. After that, you can edit the post layout by creating a post.html file or copying and pasting the post.html file from the _layouts folder in the minima installation folder.
#Example 1 Edit ‘post.html’
As shown in the figure below, post.html was created. At this time, contents in braces plays the role of outputting the contents of the post as it is.

If you refresh the blog later, you can see that the blog post has changed from left to right.

#modifying the style of example 2
Alternatively, you can copy and paste the minima.scss file from the _sass folder of the minima installation folder as follows and modify the style of the website as follows.


More details
In this post, we looked at the minima theme provided by default in jekyll and how to modify it. This modification method is possible because jekyll takes precedence over the installed theme for the contents of the created site folder. However, the point to remember in this part is that when we update the theme, the user’s personal modifications are not updated. Therefore, users should be aware of this point when customizing the theme.