Create a blog using jekyll (6): Setting a theme, first
Let’s choose a theme.
Before setting up a theme, we recommend the following sites.
https://rubygems.org/search?utf8=%E2%9C%93&query=jekyll-theme
This is a site recommended by the official Jekyll tutorial, where users can easily install themes using RubyGems. On this site, you must first choose a theme. In the case of recommended themes, it is recommended that users install them themselves after searching for a few through Google. However, depending on the theme, the installation method and detailed settings after installation are different, so please take this into account.
First, the theme selected for posting is jekyll-swiss. There is no particular reason for choosing this theme. However, since the layout is similar to the existing minima theme and installation is convenient, it will be relatively convenient when installing the theme for the first time. For practice, I recommend this theme. If you go down from the RubyGem site and select jekyll-swiss, you can see a brief description of the theme as follows.
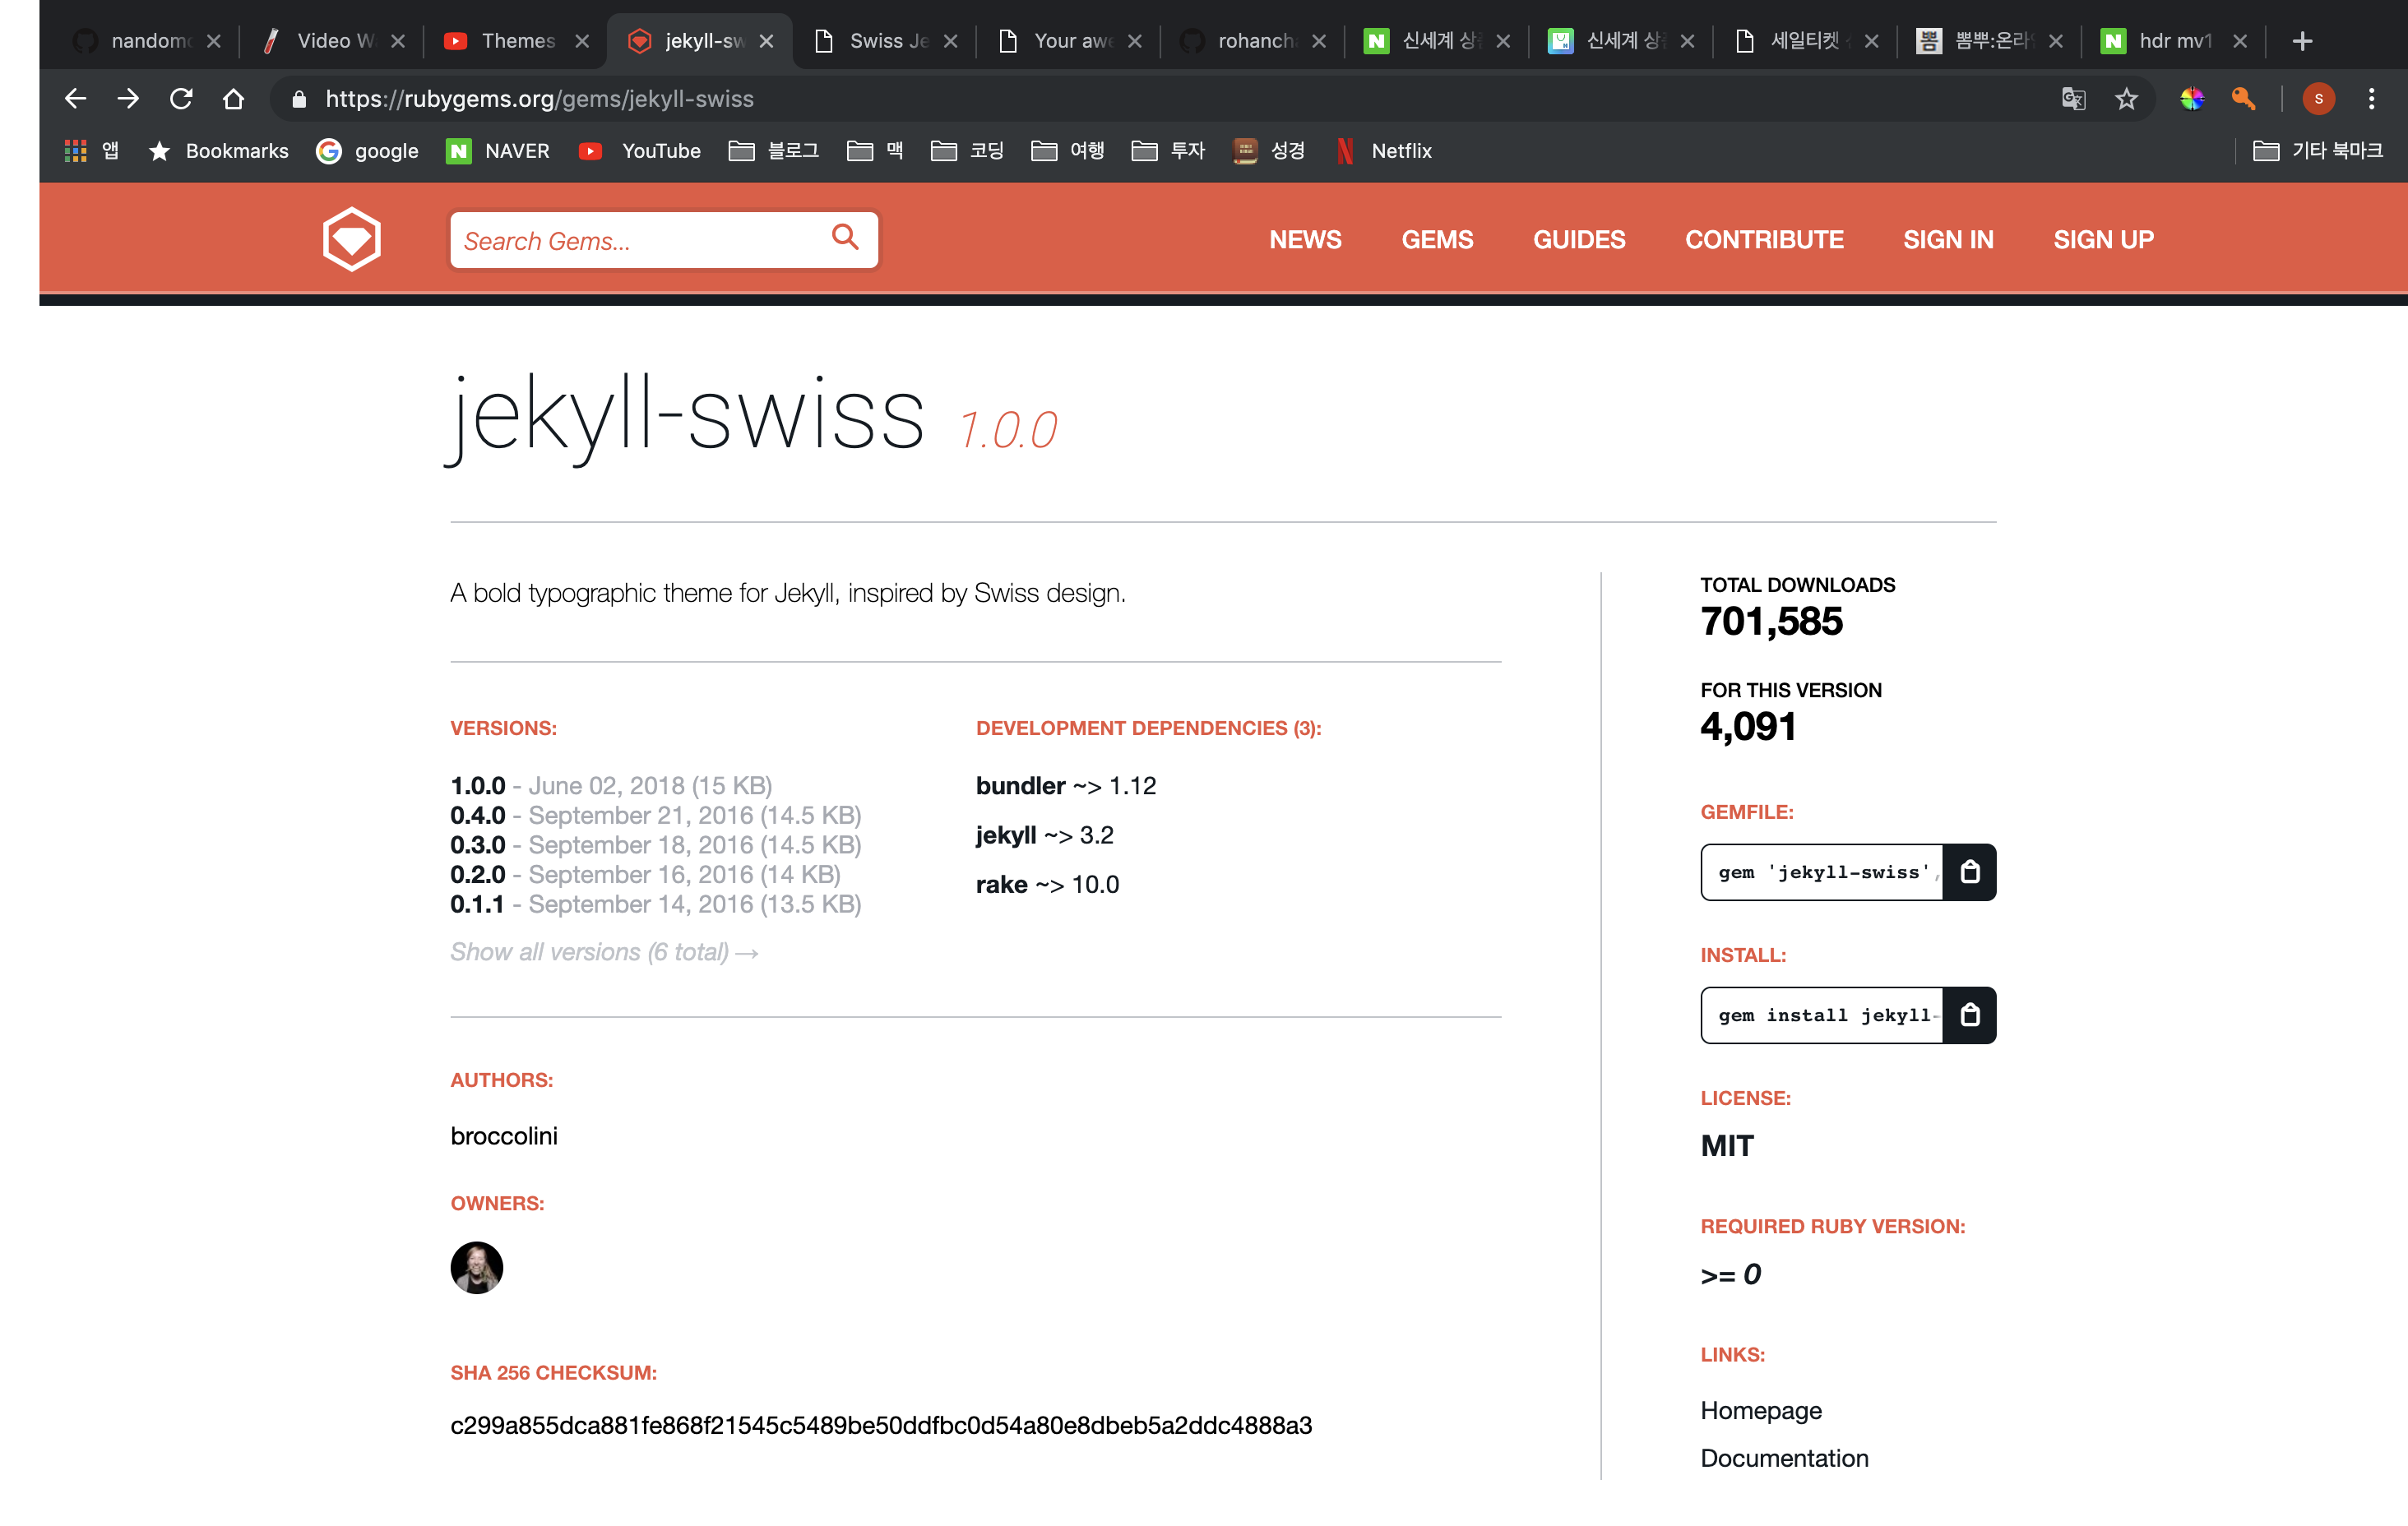
Here, if you select homepage at the bottom right, you will be directed to the preview homepage of the theme. (However, in the case of a normal theme, it will be moved to the GitHub repository, so please refer to it.)
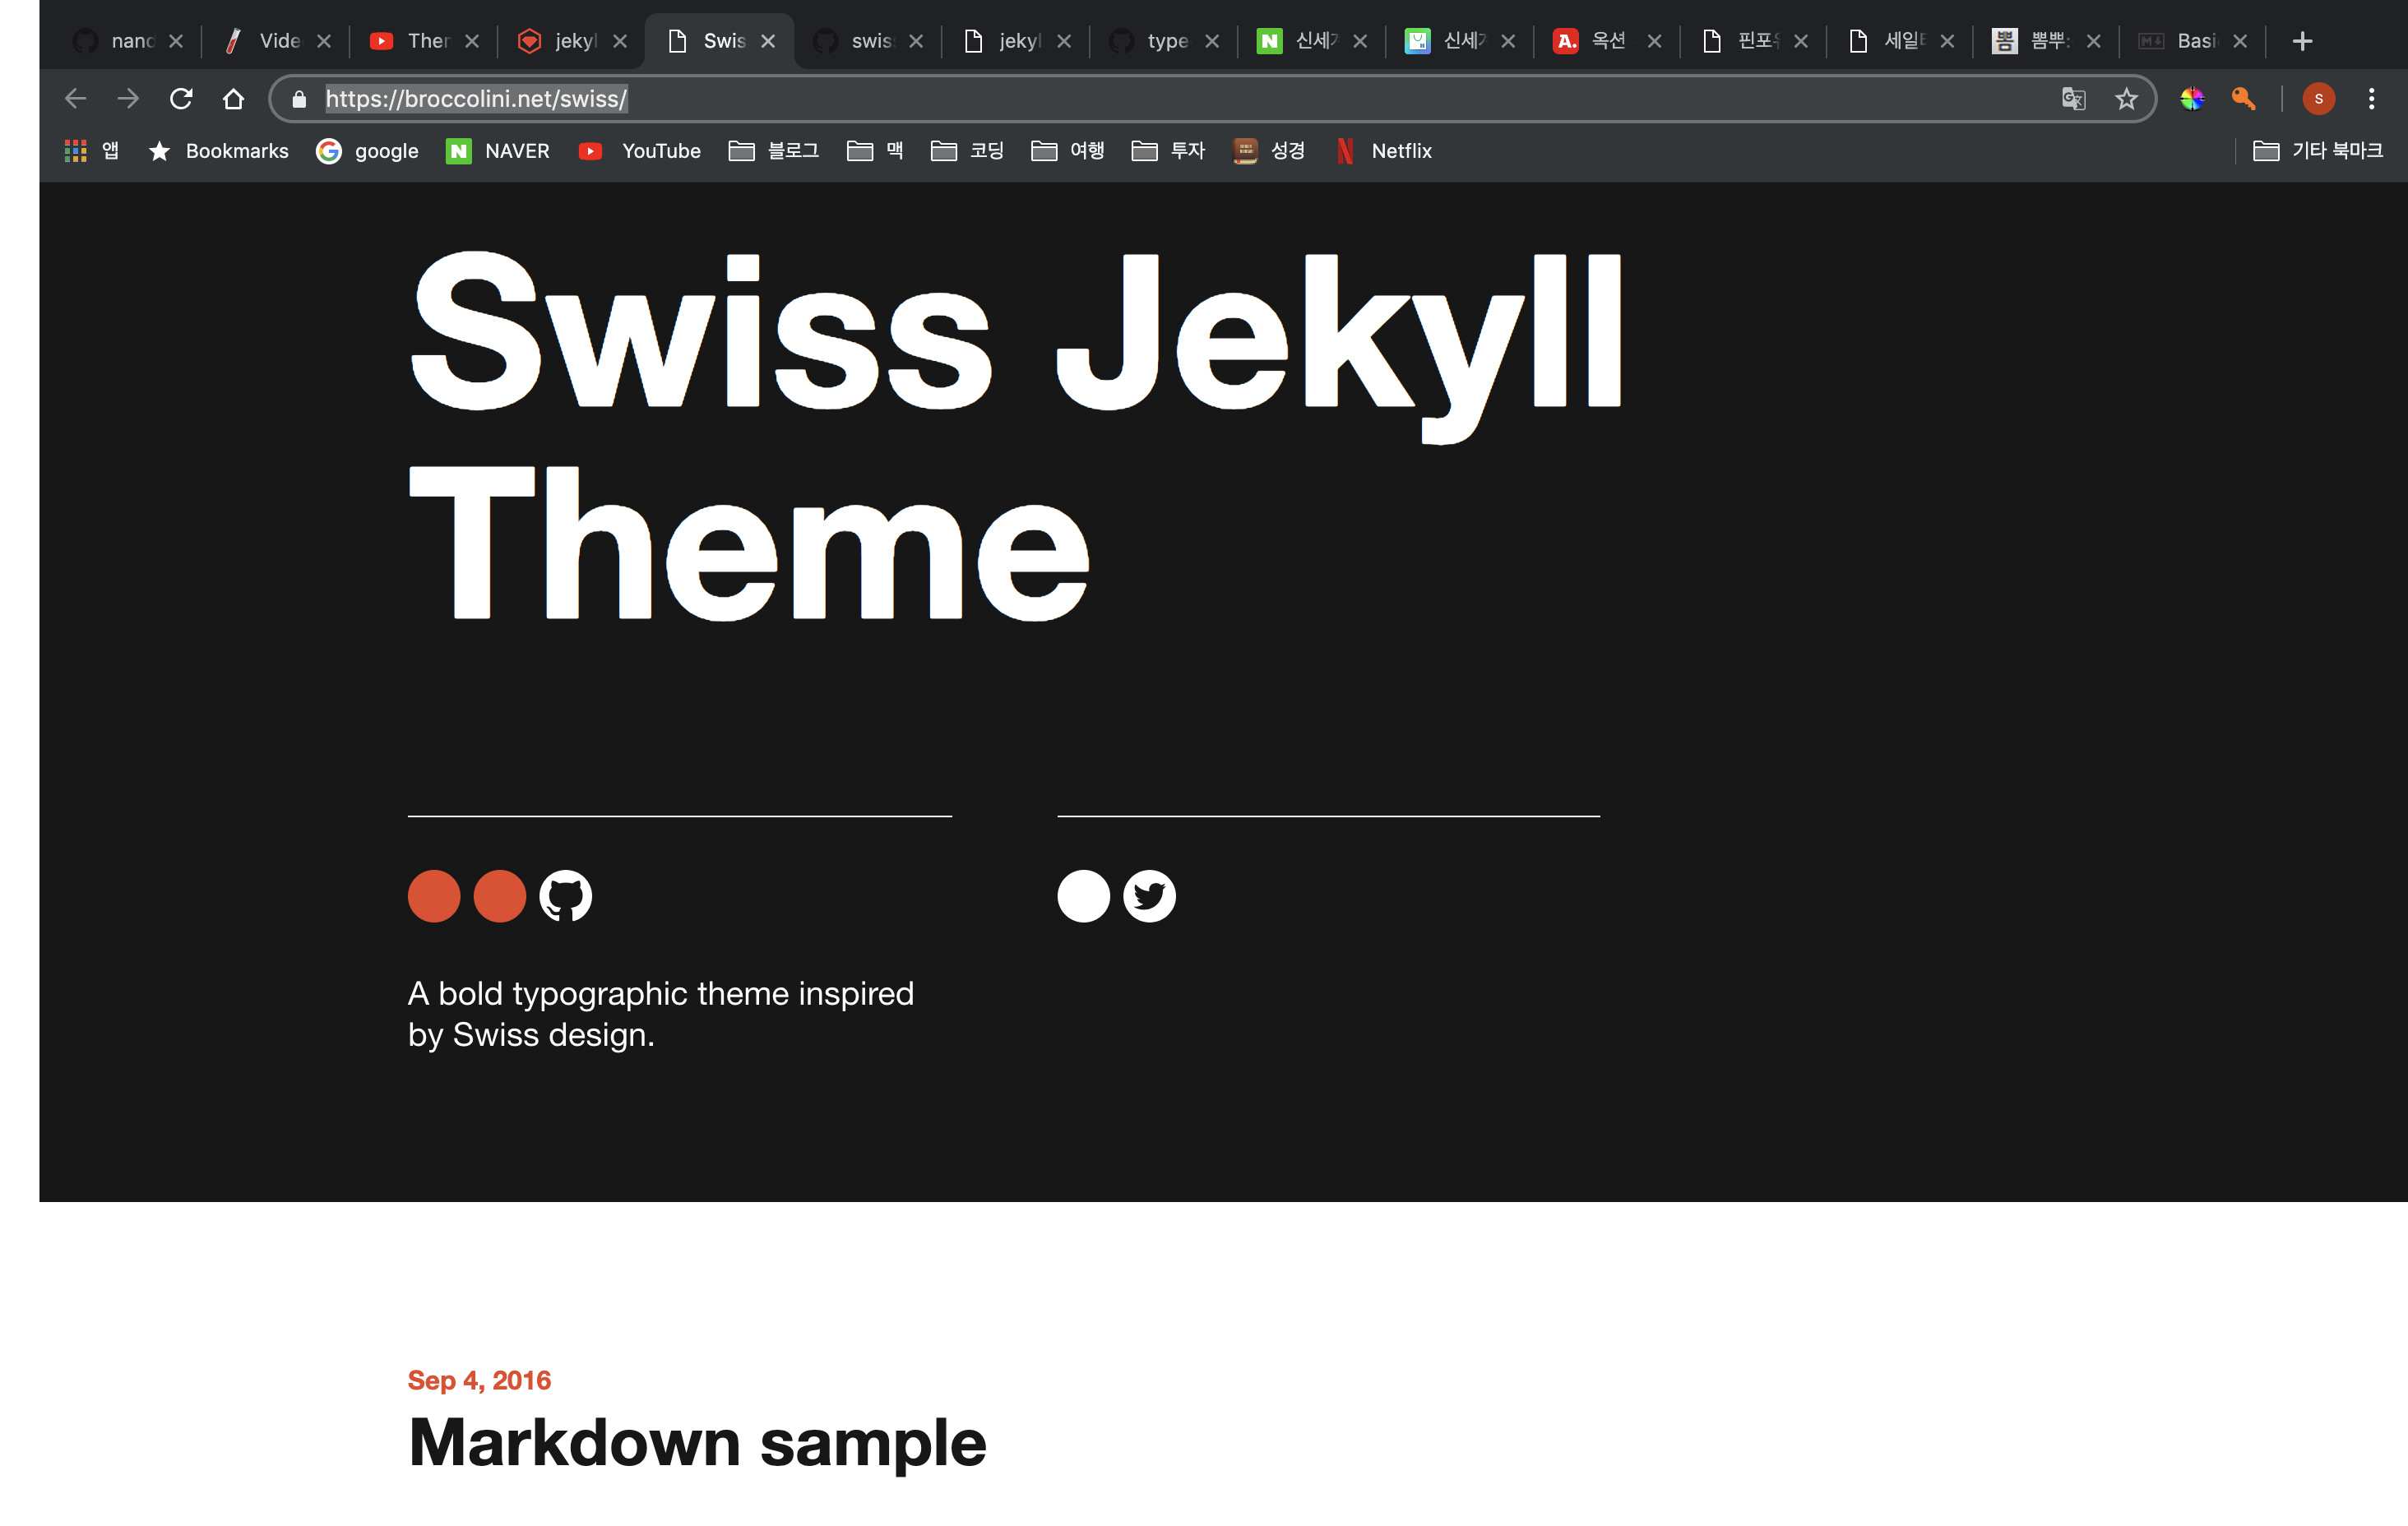
If you want to move to the GitHub repository, please go to the following link.
Let’s install the theme.
Once you’ve chosen a theme, installing it is very simple. Two files need to be changed, the first is the Gemfile. After selecting Gemfile as the editor, enter gem 'jekyll-swiss', '~> 1.0' as shown below. There is a copy window on the right side of RubyGem’s jekyll-swiss initial screen, so you can copy and paste it from there.

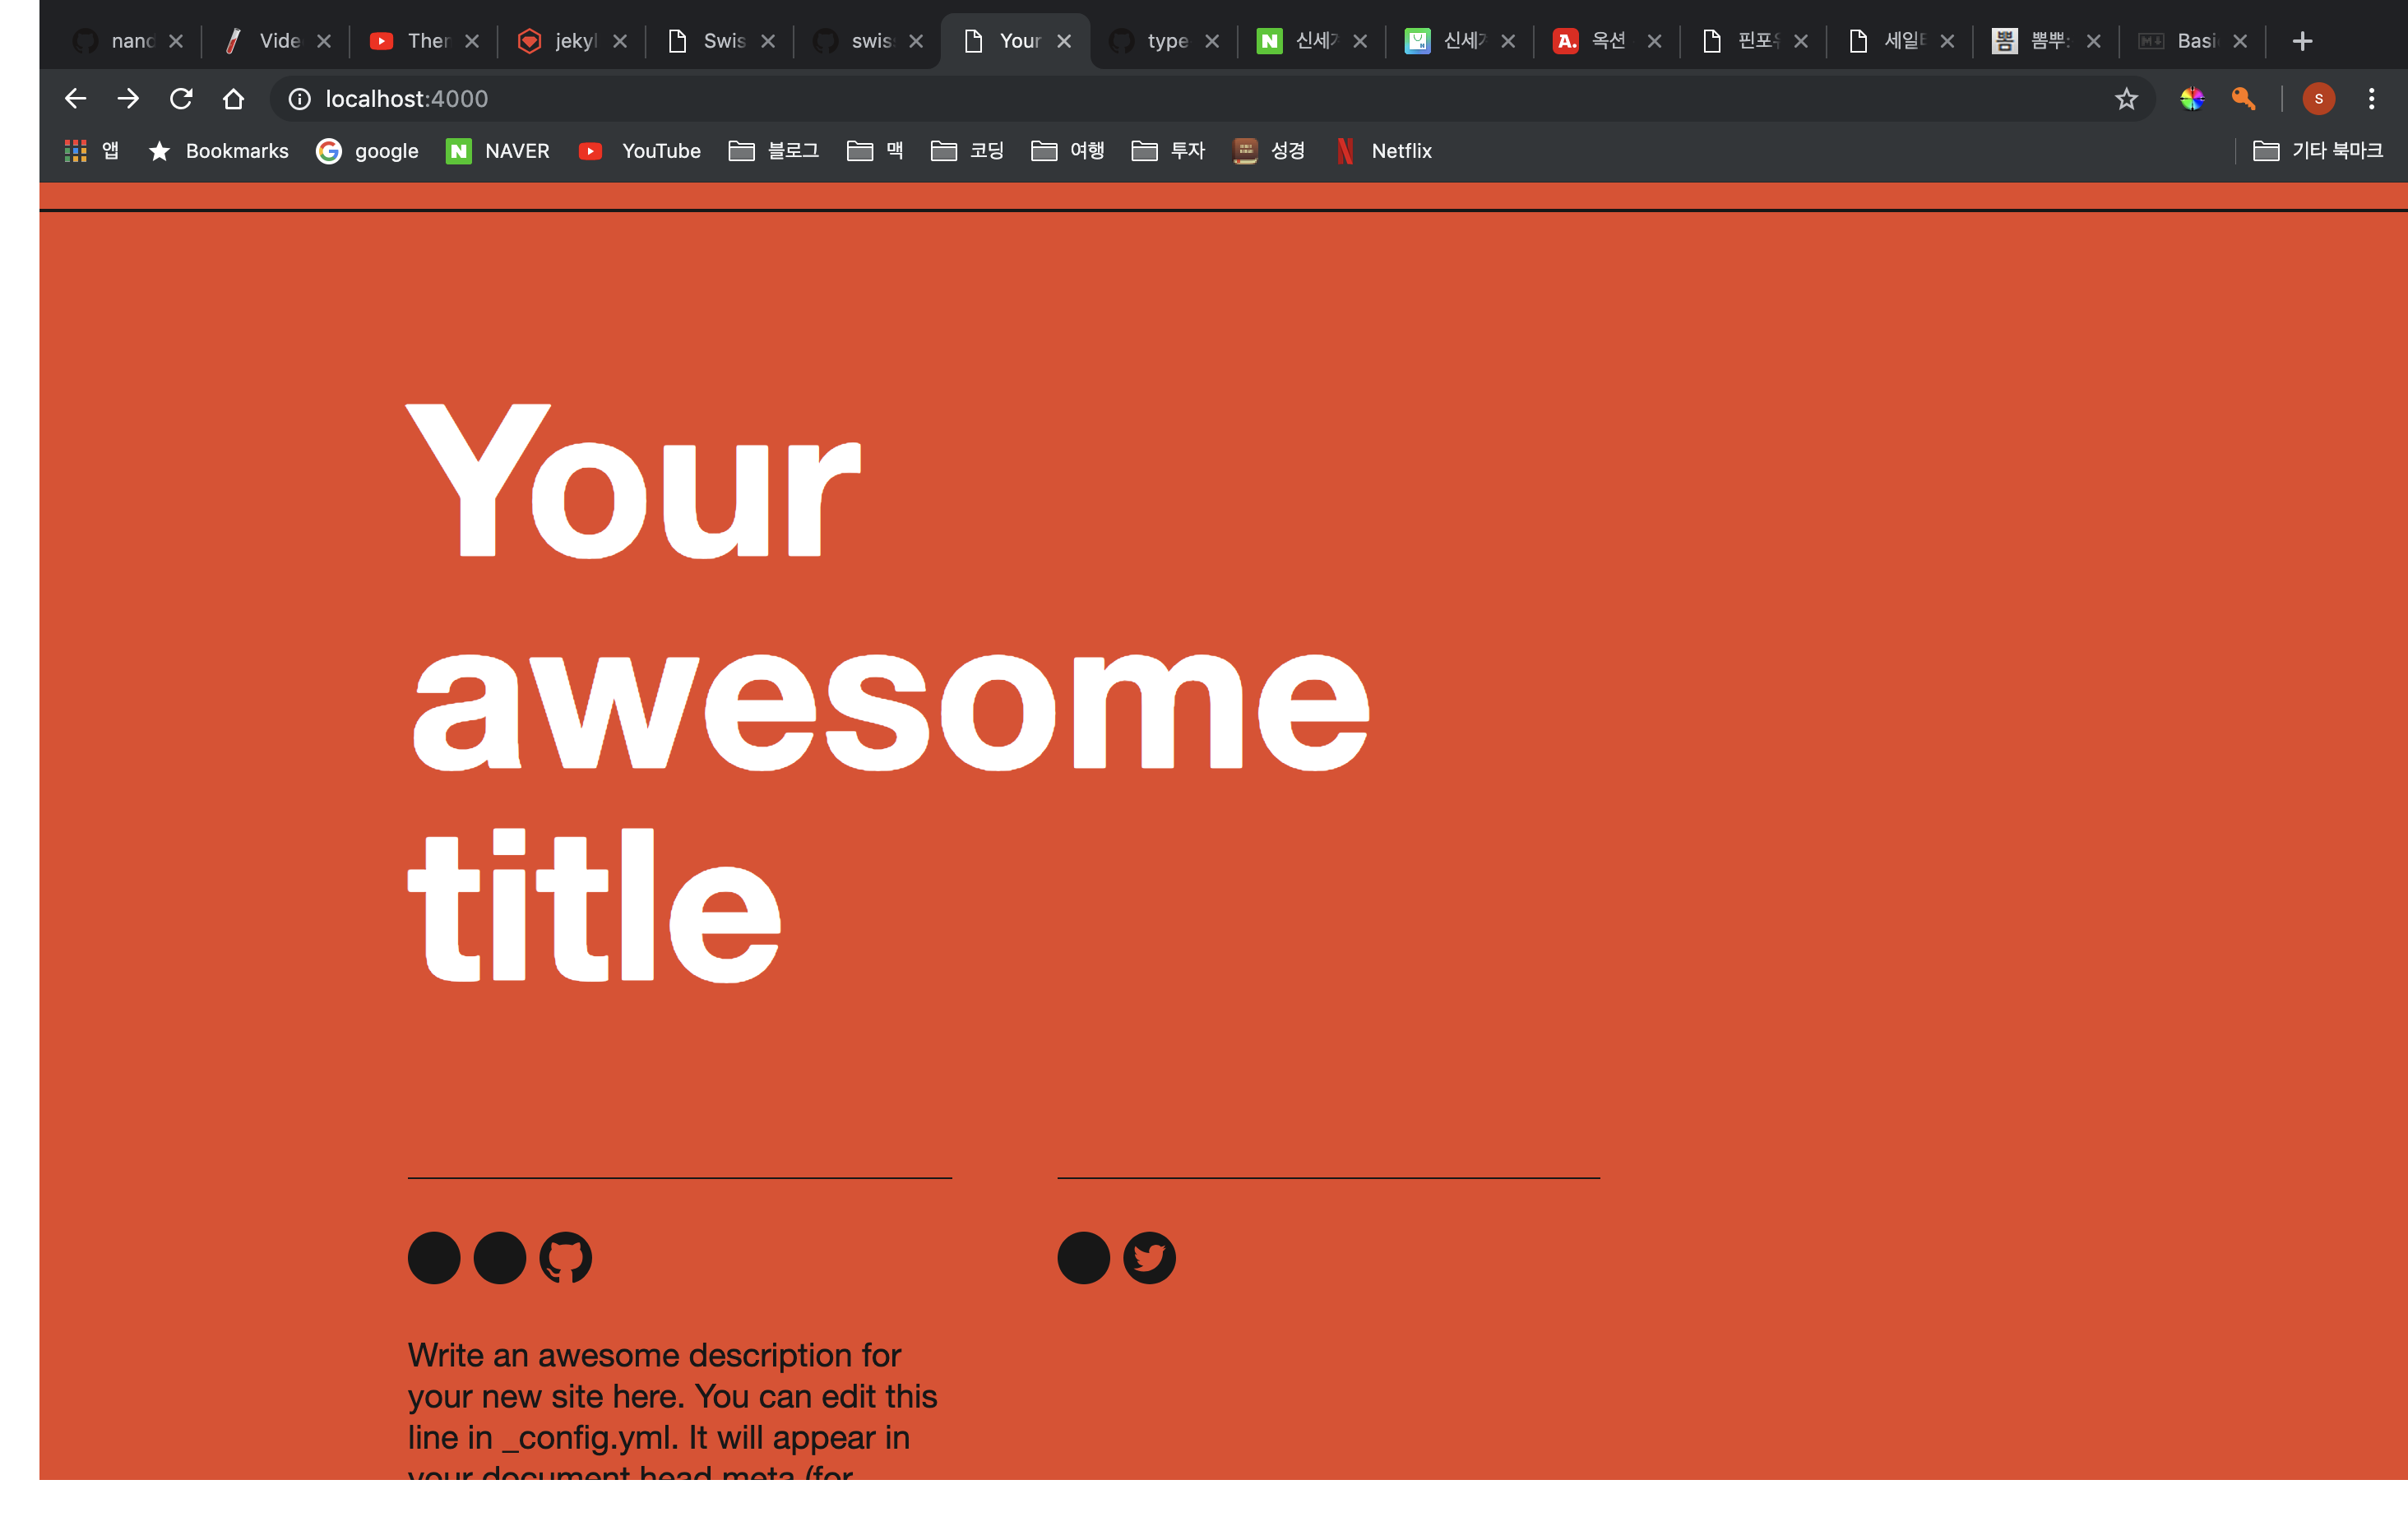
Second, you need to edit _config.yml. After selecting the file, change theme: minima to theme: jekyll-swiss and save. If you have completed both of them, now you just need to launch the terminal, configure the theme through bundle-install, and restart the server through jekyll serve exec bundle.
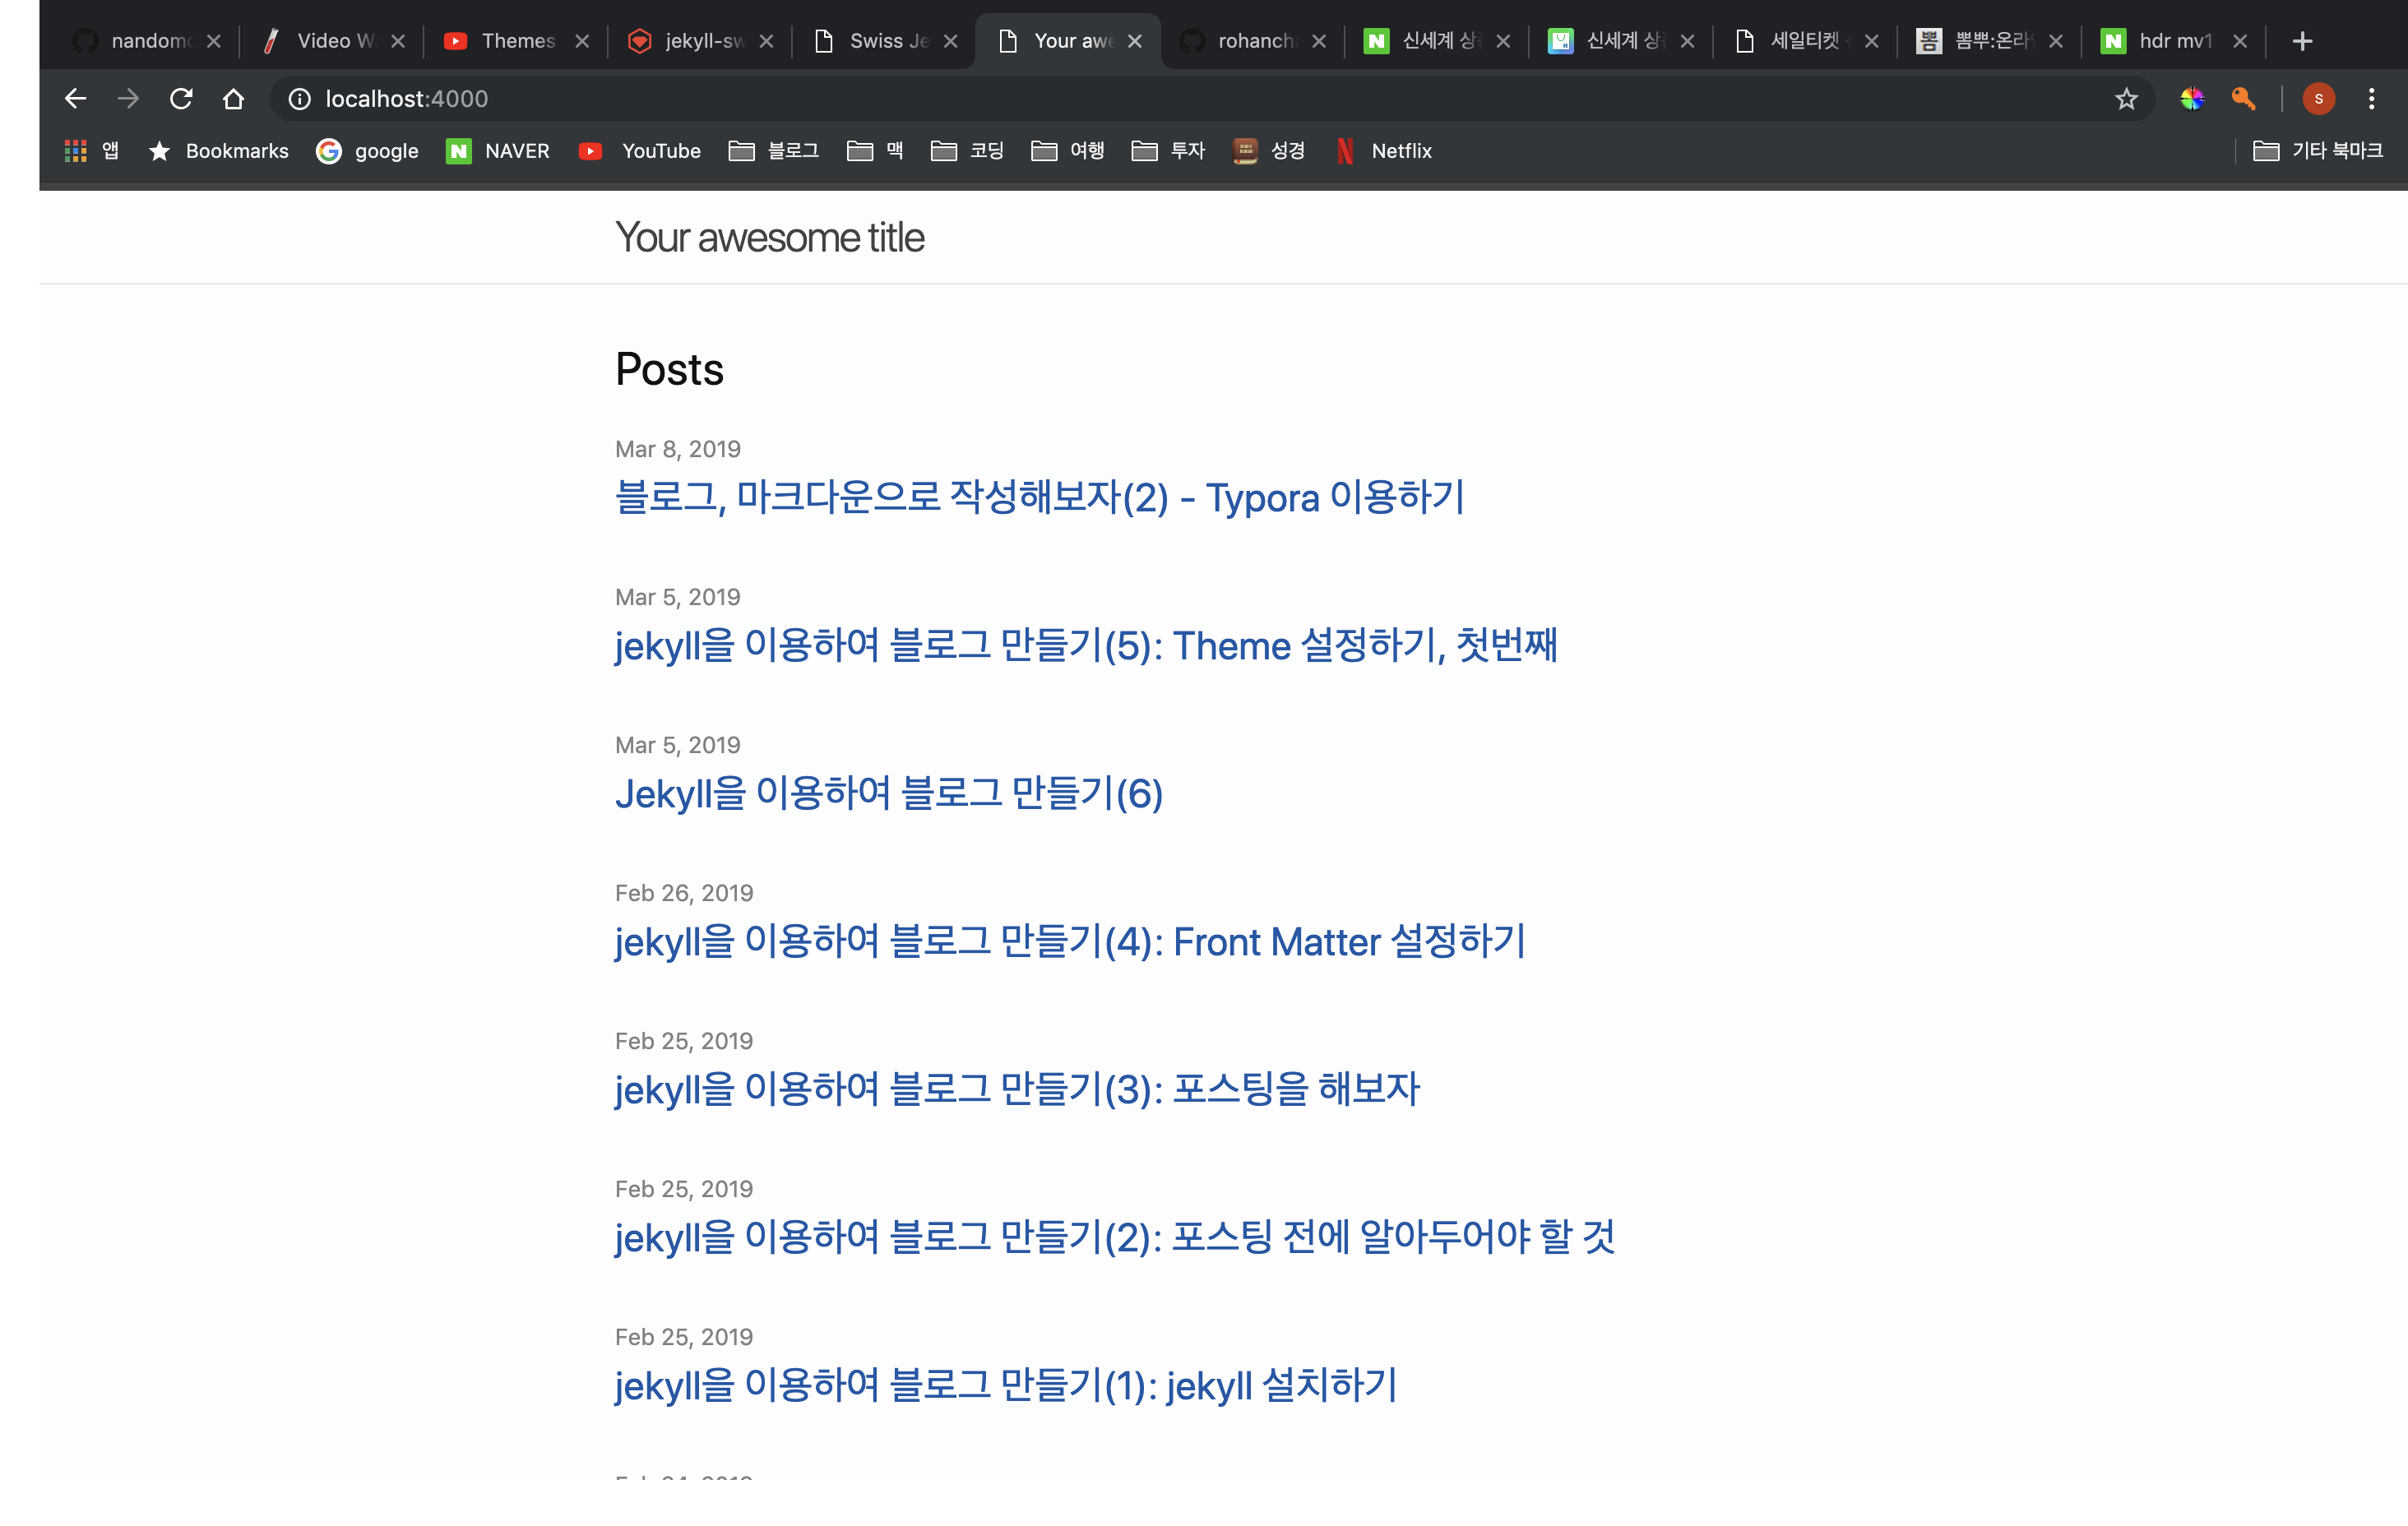

If you complete this process, you will be able to see the site changed from left to right like the screenshot above.
Precautions when installing themes!
Each theme has its own layout, not just the design. At this time, the layout is set as Page, Post, Home, etc. in FrontMatter when writing the article. If the already written article is a layout that is not in the newly applied theme, the article is not visible in the theme. To check this, you need to check the repository of the theme.
If you enter the link above, you can check the repository of jekyll-swiss, and you can check the layout of the theme here. First, if you select the _layouts folder, you can see that there are HTML files of supported layouts in it as follows.

In case of jekyll-swiss, all layouts of minima are supported, so no special modification is required. However, many themes do not support all layouts. Therefore, before selecting a theme, you should check these layouts first and either select a theme that supports the layout you need or set FrontMatter of your writing to suit the theme.
More details
The jekyll-swiss theme provides several color themes. To do this, simply add the following to your _config.yml file:
theme_color: red
If you restart the server after entering the above phrase, you can see that the site has changed to the red theme as follows.
In addition to this, there are black (default), blue, gray, magenta, orange, white, and yellow color themes supported by jekyll-swiss.