Create a blog using jekyll (7): Integration with GitHub
If you have learned how to create a blog using jekyll so far, now let’s look at how to actually link a blog to GitHub so that anyone can access it through the web.
Create a GitHub repository
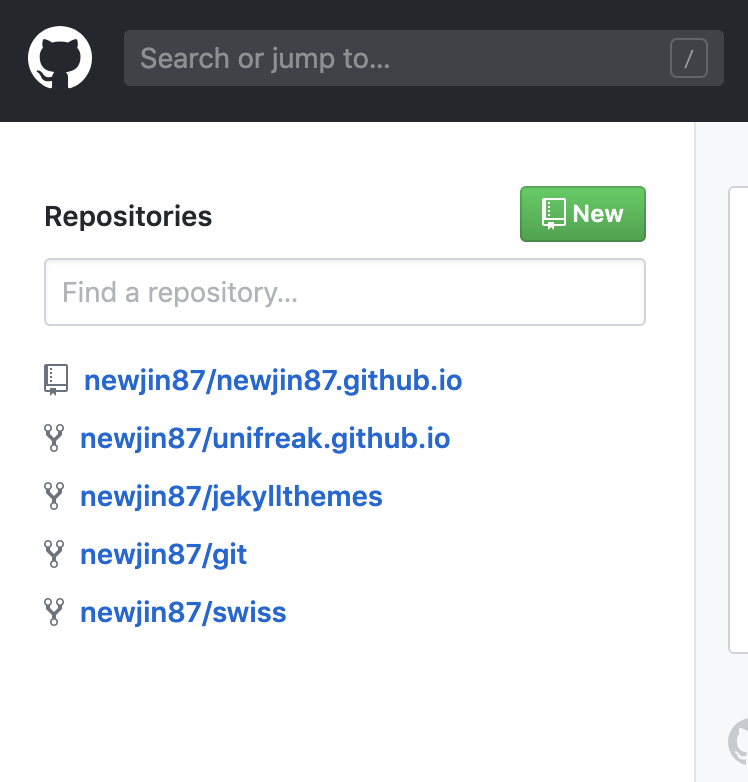
First of all, you need to sign up for GitHub. If you go to the GitHub homepage, sign up and log in, you will be able to see this screen in the upper left corner.
If we select the NEW icon here, we can create our own new Repository. If you press it, you will see the following screen.

First, you need to decide on the name of the repository, and since this name is determined like the domain address http://github.com/repository name, you must be careful. In the general case, you can set the desired name as follows.

However, if you want the domain address to be in the form of https://id.github.io, you can set the repository name as id.github.io as follows.

The last thing to note before creating a repository is that you must not check Initialize this repository with a README. If you pay attention to this part, you can easily create a Repository.

Integrate your blog to GitHub
 After creating the Repository, you can check the following window. And since the screen in the middle becomes your blog domain, click the icon next to it to copy it. The next thing to do is edit the
 _config.yml file.
There are two cases. If the domain address is in the form of http://github.com/repository name, you can enter "/repository name" in baseurl as follows.

However, if you set the domain in the form of https://id.github.io, leave the baseurl blank and enter "https://id.github.io" in url as follows. You can do it.

The next thing to do is to install GIT in the user’s site folder and link it. However, since this content is a bit complicated, I will write about it through the next post.